Setting Up Your Chart
At this point, you should have an assortment of different tools useful for creating XDRV charts. Before you can place down any patterns or code any mods, you need to create a usable chart file. You will need to organize your files correctly, fill out your chart file with the proper metadata, and ensure that the chart is correctly timed to the song.
Organizing Your Files
Section titled “Organizing Your Files”The first step of setting up your chart file is to create a space where all files related to the chart will be kept. Both Trackmaker and EX-XDRiVER require that your music and jacket files be in the same workspace as any chart that uses them. To fulfill this requirement, create a folder somewhere on your computer. You can name it anything, but the typical convention is to name it “[SONG NAME]_[CHARTER NAME].” Example: Keep Going!_TheBlockiest
Within this folder, place the music and jacket art file you want to use. Then, create a file with the .xdrv extension. If you cannot access the extension of your file, you may need to enable file name extensions on your computer. All three of these files can be named anything, though conventions exist for them as well. Typically, the music file is named “audio,” the jacket art is named “jacket,” and the chart file is named after the difficulty of the chart within, such as “EXTREME.”
DirectoryMy_Custom_Charts
DirectoryKeep_Going!_TheBlockiest
- audio.ogg
- HYPER.xdrv
- jacket.jpg
DirectoryAcrise_TheBlockiest
- …
Obtaining Your Files
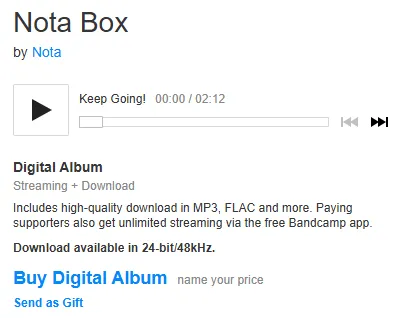
Section titled “Obtaining Your Files”If you have yet to obtain music and jacket art for the chart, now is the time to do so. There are a number of appropriate avenues for obtaining these files, including Bandcamp, some Soundcloud pages, and even some websites of artists. If you want to share your finished chart in the XDRV Community Discord server, make sure that you have some form of permission to use the song (see Getting Song Perms).
You may also have these file in an unoptimized or unsupported format for XDRV. For audio files, XDRV supports .ogg, .mp3, and .wav, though .ogg is the preferred file format. As for audio quality, 256 kbps is ideal.
When converting from one audio file type to another, converting from a lossless format (e.g. .wav, .flac) to a lossy format (preferably .ogg) is best. You can get lossless audio files through various means, though Bandcamp is the most reliable source. If you can only get an official lossy file, it is okay to convert it to another file type, though your file size may bloat. If you have a song in another format that you want to convert to an .ogg, you can do so using Audacity through the following:
-
Open Audacity on your computer and drag the audio file into Audacity.
-
From “File,” select “Export Audio.” If prompted, then select “Export to computer.”
-
Select the format type of “Ogg Vorbis” (.ogg) and a Quality of 8 (256 kbps).
On older versions of Audacity, you can immediately select the .ogg file type from the “Export Audio” selection.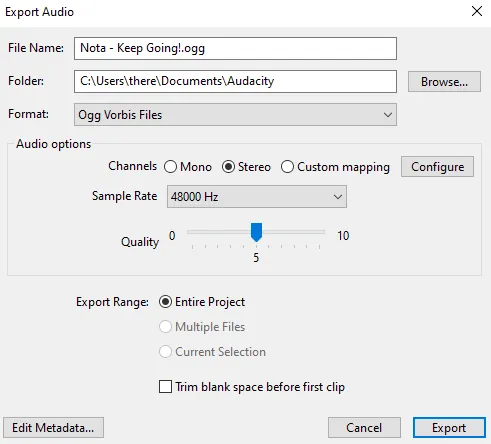
-
Once finished, press the “Export” button and choose where on your computer the new file will save.
For jacket art files, XDRV supports .jpg and .png, though .jpg is most optimized. Since XDRV automatically downsizes all jackets used in custom charts to 512x512 pixels, you can optimize your file size by resizing the image to 512x512 pixels yourself. You can use any image and photo editing software to resize / re-export your jacket art, including free options like Paint.NET.
Populating Metadata
Section titled “Populating Metadata”Your next step should be to populate your .xdrv file with all relevant metadata. When you open a freshly-made .xdrv file, however, the document will be entirely blank, as the metadata list must be generated:
-
Open the .xdrv file in Notepad++,
-
Under XDRVTools, select the “Generate Metadata” option.
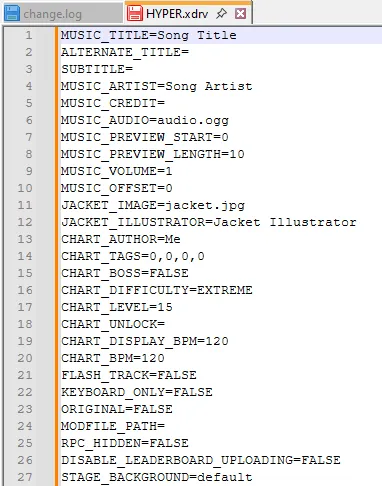
Now, you can fill in most of the metadata for the chart. If you followed the naming conventions for the music and jacket art, you will not need to edit MUSIC_AUDIO or JACKET_IMAGE. Going in the order that the lines appear, here is each line you need to populate and with what:
- MUSIC_TITLE: The title of the song
- SUBTITLE: The subtitle of the song. Typically reserved for acknowledging a cut version of a song OR crediting a different rhythm game of origin.
- MUSIC_ARTIST: The name of the artist/artists that made the song.
- MUSIC_AUDIO: The name of your audio file.
- JACKET_IMAGE: The image used by the jacket.
- JACKET_ILLUSTRATOR: The artist of the jacket. (If you cannot find out who made the jacket, XDRV supports this category being blank.)
- CHART_AUTHOR: Your charting name / alias.
- CHART_DIFFICULTY: The categorical difficulty of your chart (BEGINNER, NORMAL, HYPER, EXTREME, and OVERDRIVE are your options).
- CHART_LEVEL: The numeric difficulty of your chart (in most cases, 1-15).
- STAGE_BACKGROUND: The background you want to use. See the XDRV Background Documentation for the names of different backgrounds.
This leaves the timing related metadata to fill in.
Populating Chart Timing
Section titled “Populating Chart Timing”What do CHART_BPM and MUSIC_OFFSET have in common? They both determine how well your chart is timed to the music. If either of these values is slightly off, your chart’s sync will also be off. Getting these timing values correct is challenging, but worthwhile.
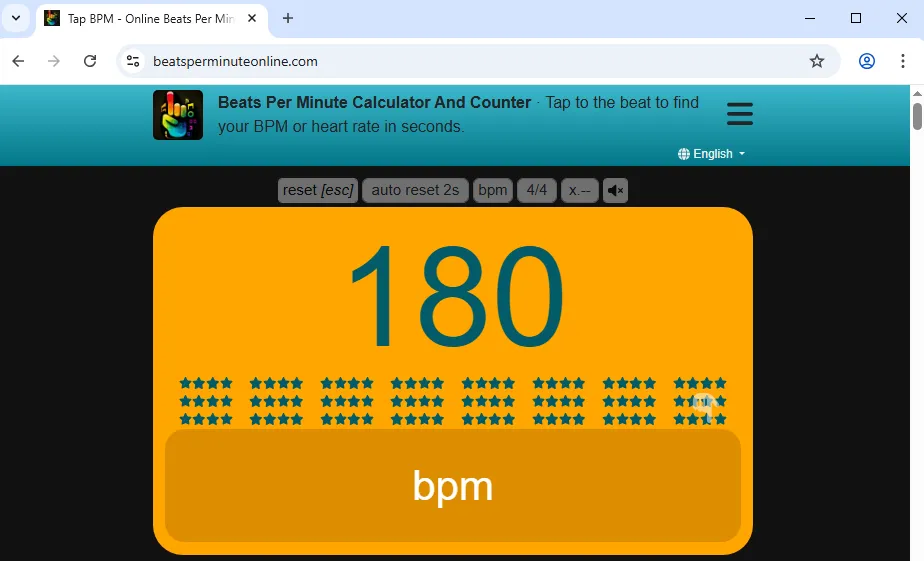
For CHART_BPM, your best bet is to either get the BPM from a trustworthy source or determine the offset yourself. If you need to do the latter, you can easily find an online BPM calculator that lets you tap to find the BPM of a song. Once you set CHART_BPM, make sure you set CHART_DISPLAY_BPM to the same value as well.
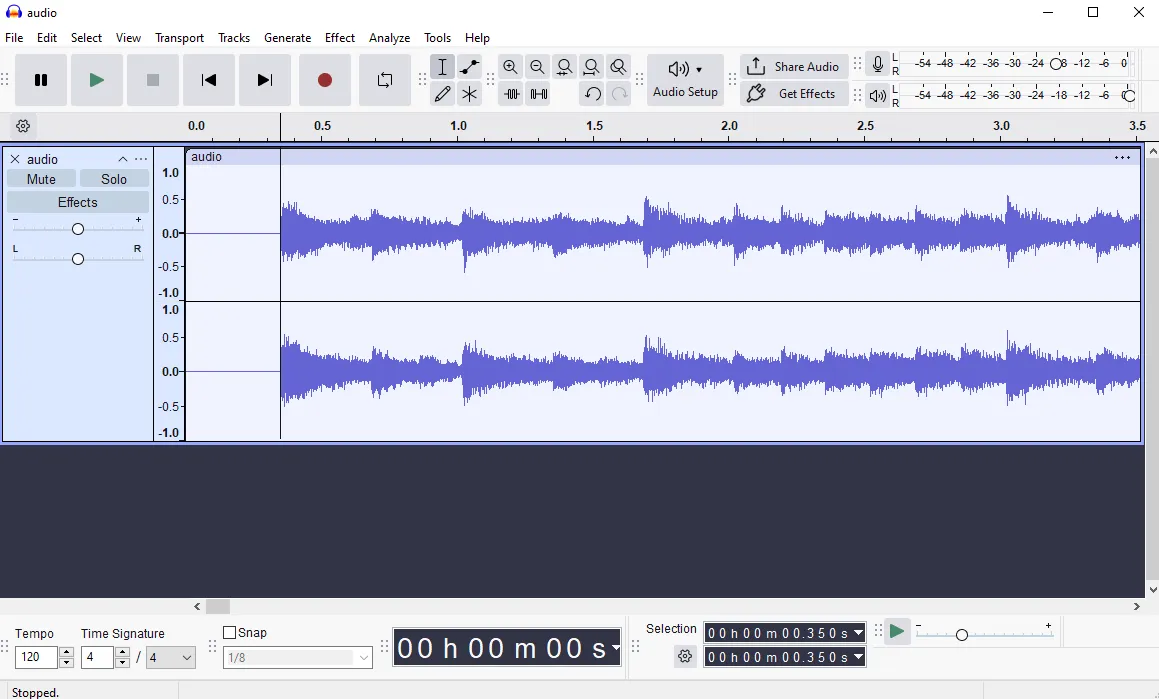
As for CHART_OFFSET, since Trackmaker does not support offset editing, your best is to open Audacity and drag the audio file that your chart is using in. Then, find where the first measure of the song starts. In audio files without a buildup, this may be the first visible part of the waveform. For audio files with a buildup, however, finding the first measure may take some effort. You may want to zoom in to see more detail of the waveform. You can also use the left and right arrow to make small adjustments to the timing. The value you want, the time of the first measure, can be found in the bottom right corner.
From this value, you can get an exact offset for your chart using the following equation:
Offset = -Time at First Measure + (60 / BPM) × Beat Count
Example Offset = -0.350 + (60 / 180) × 4 = 0.983
Time Signature and Timing Markers
Section titled “Time Signature and Timing Markers”Time signature is an important factor to consider when making your XDRV chart. If your song does not start with a time signature of 4/4, then you need to put a #TIME_SIGNATURE marker at the first beat of the chart to change it with the correct values.
The following #TIME_SIGNATURE marker creates a 3:4 time signature at the given measure of the chart.
--#TIME_SIGNATURE=3,4000-000|00|0--If your song has BPM or time signature changes at any points, you will need to add #BPM and #TIME_SIGNATURE markers at those points to accommodate.
At this point, you should now have a .xdrv file with its metadata filled in. It is now a good idea to check the chart file in Trackmaker to make sure that everything (including your timing) is correct. For this, you should go off of the sound, not the waveform. Then, you can start adding patterns.